We are currently taking orders here.

What’s in the box?
phospho dev kits come with EU power plugs.
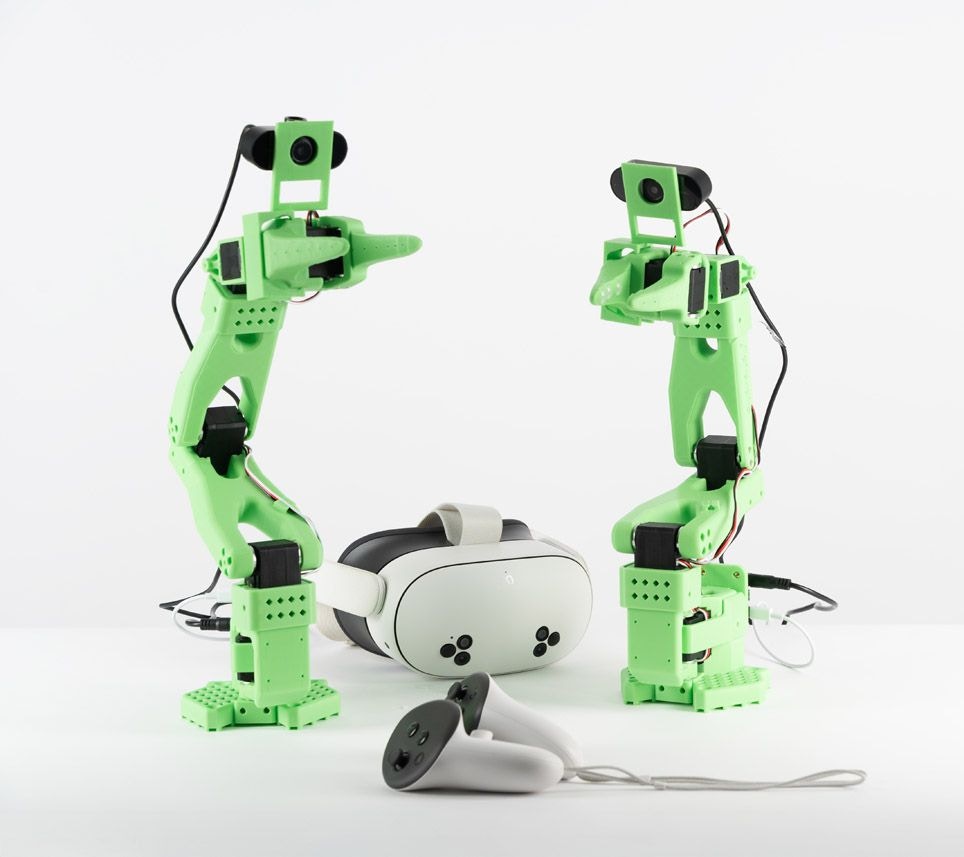
- 2 Robot arm
- 2x SO-100 robot arm
- 2x 12V power source (for the arms)
- 2x USB-C to USB-C cable
- 4x Table clamps
- 2 Wrist Cameras
- 2x Wrist cameras
- 2x Camera cables (USB)
- Access to the Meta Quest app for VR control
1. Attach the SO-100 arms
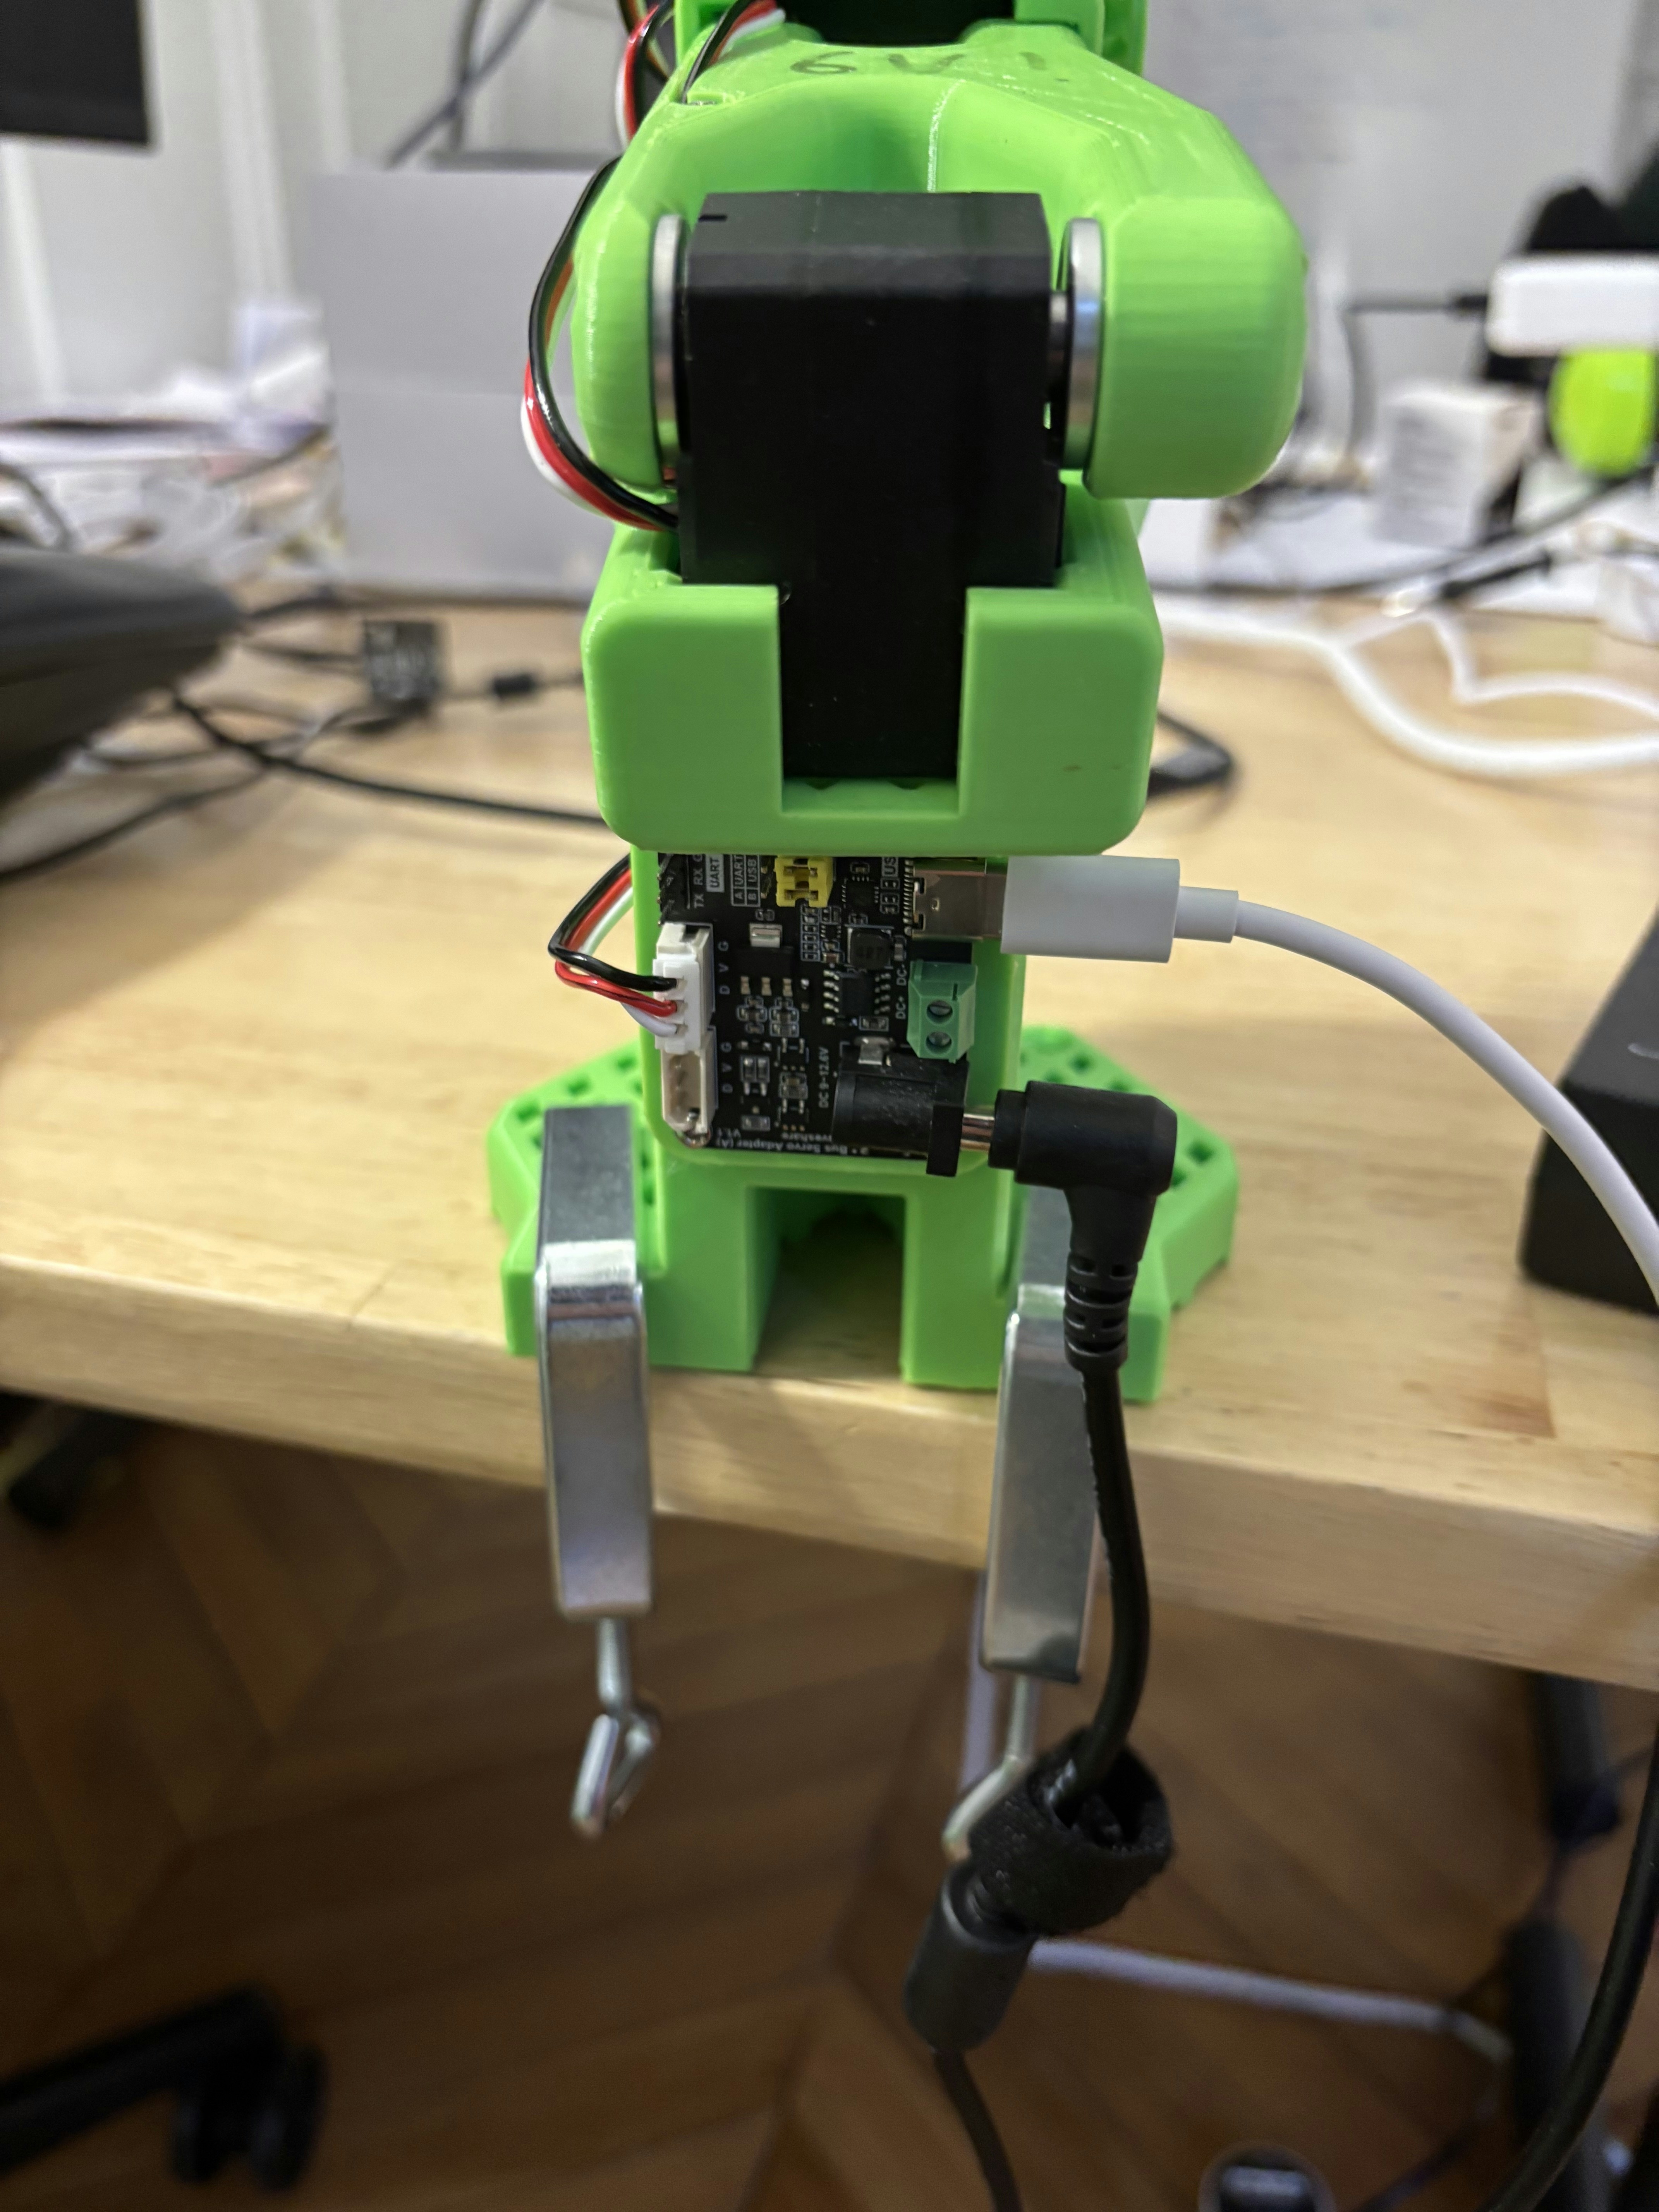
Find a table and fix each SO-100 robot arm using the table clamps in the kit (see image below).
2. Install the wrist cameras
For safe transport, the wrist cameras are not installed on the robot arms. You don’t need screws or special tools to install them, just pop them in the holes on the robot arms. Please refer to the video below to see how to install the wrist cameras.
If you need to transport the robot arms, you can remove the wrist cameras by pulling them out of the holes.
3. Plug everything together
In this order:- Plug each SO-100 robot arm into the power supply using the black 12V power supply.
- Plug each of the USB-C cable into the SO-100 robot arm and the other into your computer.
- Plug the cable to the wrist cameras and into your computer.
4. Install and run the phosphobot software
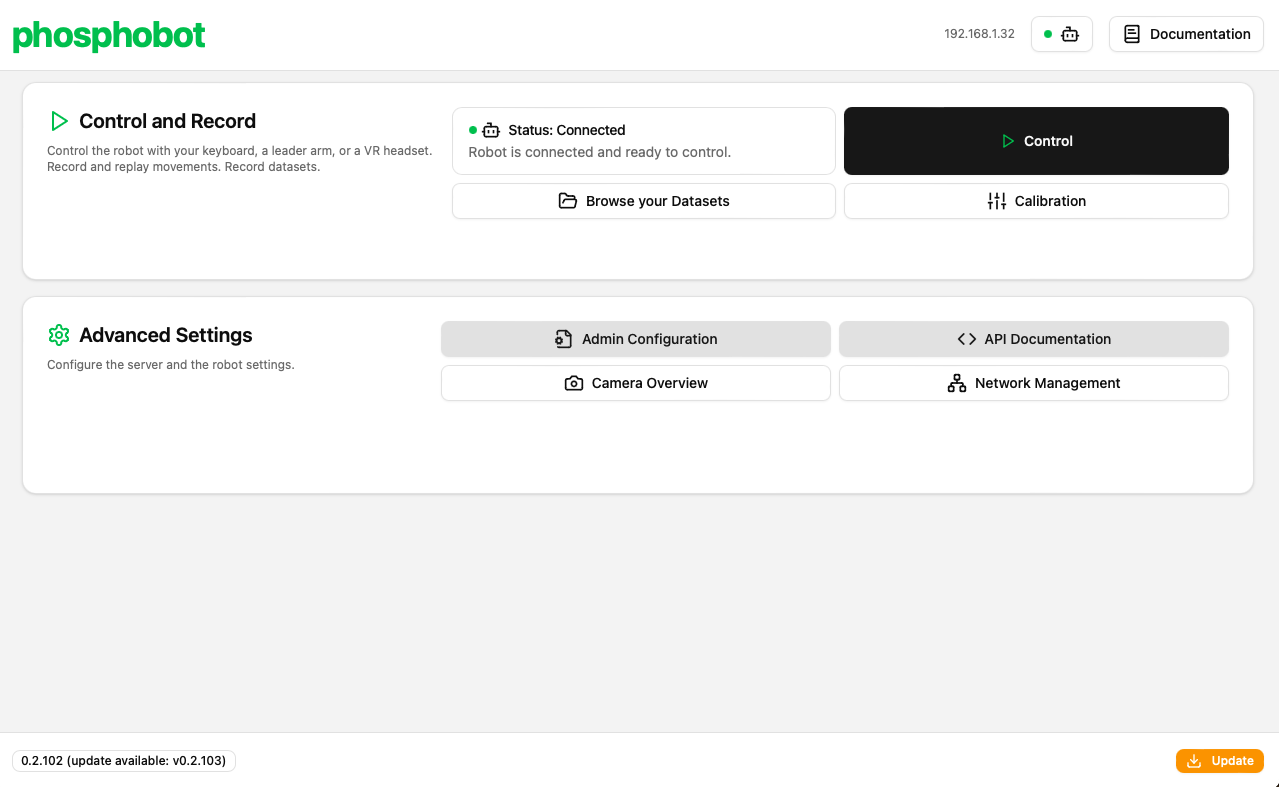
Once everything is connected and powered on, run the following command in a terminal to install the phosphobot software:localhost in your web browser to access the phosphobot dashboard. Go to Control to control your robot using only your keyboard!
